By Multinet Group: Recently
Multinet Group Limited via her subsidiaries prides itself as an expert in renewable energy solutions. Our clients (both Private and Government) can testify to our professionalism and adherence to industry best practices.
Solar System Components
Solar systems are made up of solar panels (modules), a mounting system, and a solar inverter with computerised controller. Solar panels produce DC electricity from sunlight. Then the inverter converts the generated electricity into AC, so that it can be used in the household. The computerised controller manages the solar system and ensures optimal performance. If you want battery backup system or an off-the-grid solar system, a battery is required.
Solar Panel Installation Process
The most common location for the installation of solar PV panels is the roof. Most roofs typically have the desired specifications for the installation, so that panels get the maximum sunlight.
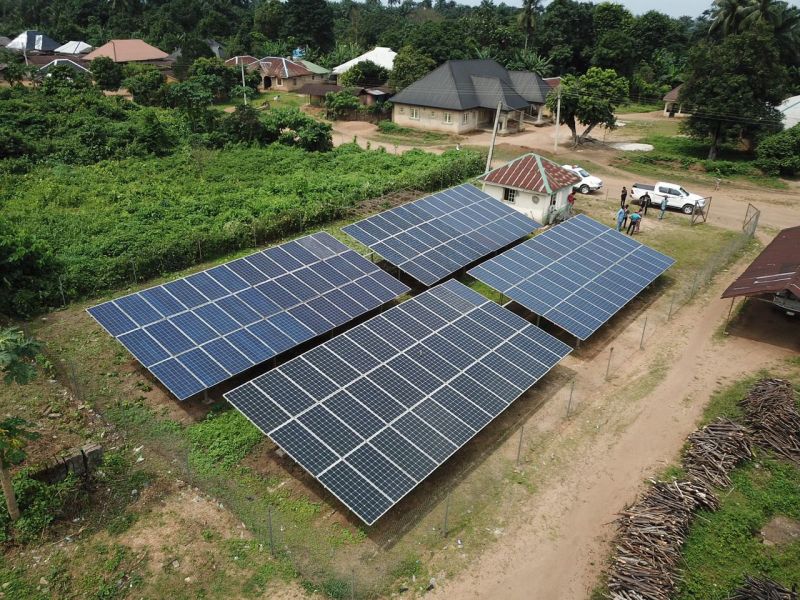
Nevertheless, if installation on the roof is not applicable or desired, the solar panels could also be mounted on the ground. You just need to make sure that there are no objects blocking access to the sun.
The following steps explain solar panel installation on a roof:
1. Set Up Scaffolding: Firstly, you have to erect scaffolding to ensure safety during the whole installation process when being on the roof.
2. Install Solar Panel Mounts: The solar panel mounting system has to be set up. This will support the base of the solar panels. The whole mounting structure must be tilted and have an angle between 18 to 36 degrees to have maximum sunlight exposure.
3. Install the Solar Panels: When the mounts are set up, the solar panel itself has to be installed on the mounting structure. Make sure to tighten up all the bolts and nuts so that it stays stable.
4. Wire the Solar Panels: Next is to install the electrical wiring. In most cases, MC4 connectors are used because they are suited for all types of solar panels. Make sure to shut off the household’s electricity supply during the wiring installation.
5. Install Solar Inverter: After that, the solar inverter must be connected to the system. It is typically installed near the main panel and it could be both indoors and outdoors. Inverters are more efficient if kept in a cooler place.
If the inverter is outdoors, it should be kept out from the afternoon sun. If it is installed indoors, the garage or utility room are usually the best places, since they stay cool for most of the year and have ventilation.
6. Bond Solar Inverter and Solar Battery: Thereafter, the solar inverter has to be connected to the solar battery. The solar battery storage can save you from worrying about the lack of usable energy during cloudy times, it can also lower the solar battery storage system costs during installation.
7. Connect the Inverter to the Consumer Unit: The inverter should be connected to the consumer unit to generate electricity. A generation meter should also be connected to monitor the amount of electricity the solar panels actually produce. You can use your computer or other device to check your solar system’s performance. For example, you can check how much electricity you generate at different times and decide what time is suitable for using your washing machine or other utilities.
8. Start and Test Solar Panels: The final step is to switch the power on and test the newly installed solar panel system. After that, the solar panel installation process is completed.
Solar Panel Maintenance
Since there are no moving parts, solar panels require very little maintenance. Once you have covered the installation cost of solar panels, there are not many costs associated with maintaining them.
Having said that, you should inspect them a few times per year for dirt or some other things that might have piled on top. It is important that the panels are clean and there is nothing blocking them from efficiently absorbing the sun.
Before cleaning the panels yourself, you should consult with your installer about the warranty conditions. Some solar panel manufacturers could terminate the warranty if any self cleaning is done.
For a general cleaning, you can just use a normal garden hose to wash the face of the panels. You should do this in the morning or evening. Also avoid spraying them with cold water while they are hot because that might damage them.
Moreover, If the panels need some more cleaning than the hose cannot provide, you can use a sponge with soapy water to scrub them. You can also get the services of a cleaning company. This is advisable if the panels are too high or need more thorough cleaning.
You should have your system examined every 4-6 years by an installer. It is also a good idea to ask your installer about specific maintenance requirements for your solar system.
The Multinet Group Limited and its subsidiaries like Sybuzo Engineering Company Limited and One Nation Energy Platform Limited are vastly experienced in the solar energy field.